
本节讲解如何新建H5项目,以及新项目的环境如何配置。
环境
- 需要安装
node.js
可以到node.js官网 https://nodejs.org/en/ 下载安装包。
新建项目
通过脚手架命令create-react-app进行项目创建。
1、全局安装create-react-app
- 如果之前没安装过,需先安装create-react-app
npm install -g create-react-app- 如果已经安装过,但是不是全局安装。运行上述命令会报如下错误:
maomaoMacBook-Pro:h5 maomao$ npm install -g create-react-app
npm ERR! code EEXIST
npm ERR! syscall symlink
npm ERR! path ../lib/node_modules/create-react-app/index.js
npm ERR! dest /usr/local/bin/create-react-app
npm ERR! errno -17
npm ERR! EEXIST: file already exists, symlink '../lib/node_modules/create-react-app/index.js' -> '/usr/local/bin/create-react-app'
npm ERR! File exists: /usr/local/bin/create-react-app
npm ERR! Remove the existing file and try again, or run npm
npm ERR! with --force to overwrite files recklessly.

npm ERR! A complete log of this run can be found in:
npm ERR! /Users/maomao/.npm/_logs/2021-05-16T09_22_13_950Z-debug.log可以通过报错信息里面找到create-react-app的安装目录
上面显示安装目录在:
/usr/local/bin/create-react-app2、新建项目
- cd到你的项目存放路径
- 新建并对react项目进行命名(注:
项目名称不能有大写)
create-react-app mm_h5test如果不是全局安装的create-react-app,就找到对应的安装目录执行安装命令。如:
/usr/local/bin/create-react-app mm_h5test3、运行项目
- cd 到新建的项目目录
- 运行npm run start
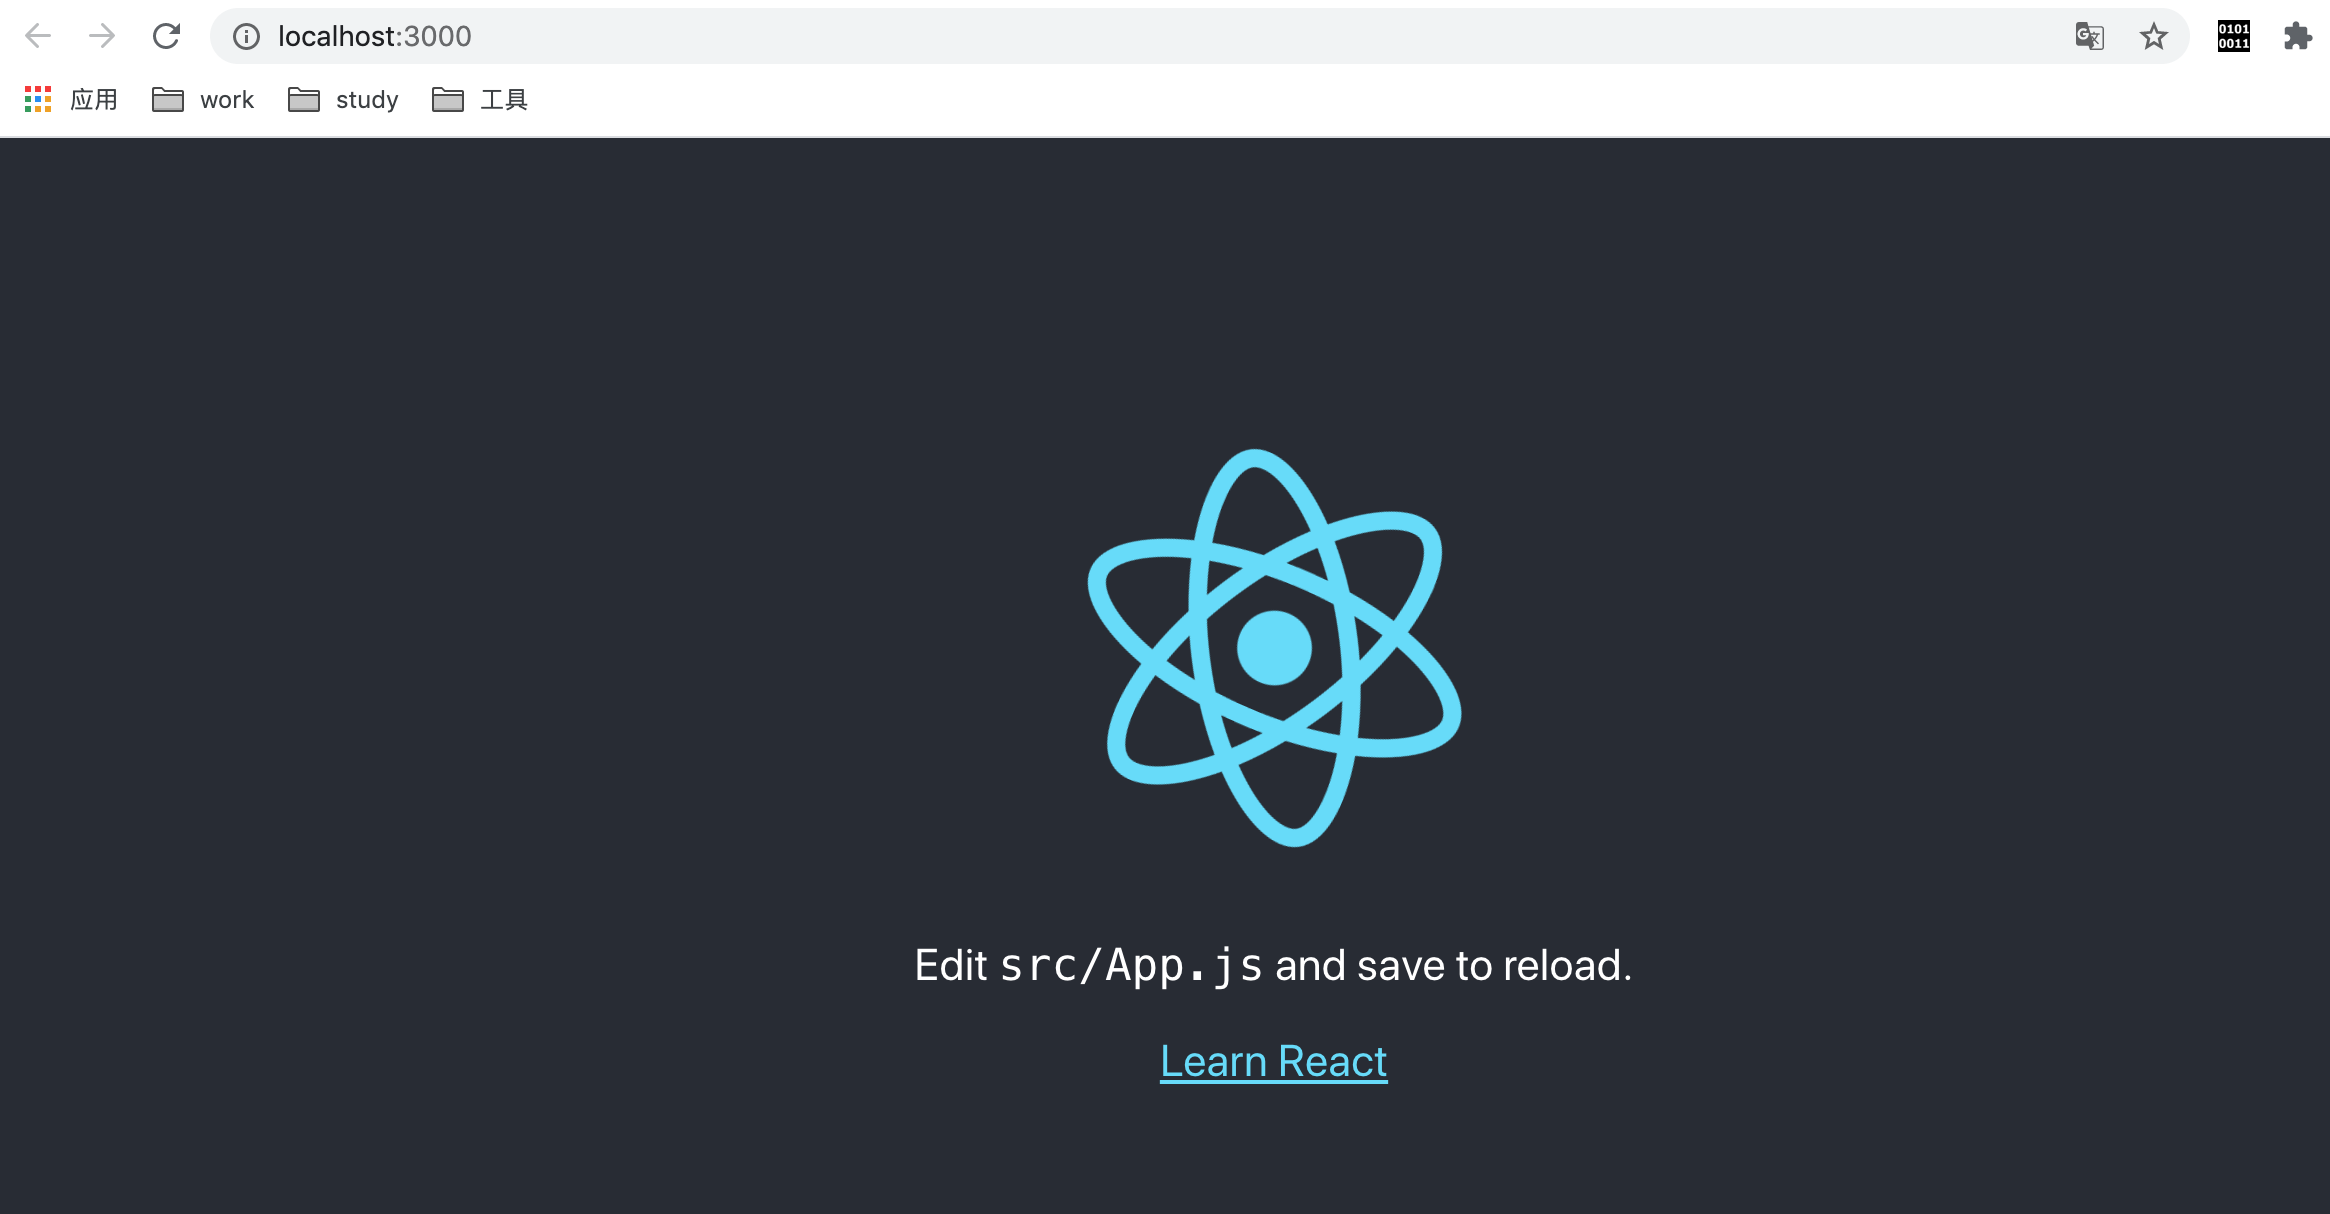
cd mm_h5testnpm run start运行完,浏览器会自动弹出新页面,显示一个示例页面:
或者在地址栏中输入:http://localhost:3000/
项目配置
通过create-react-app创建的项目是没有webpack配置文件的,因为脚手架已经帮我们封装好了。
如果要对webpack进行设置,可以使用命令 npm run eject 把webpack文件暴露出来,这个操作是不可逆的。
npm run eject会修改package.json文件的scripts,里面的"eject"脚本会被删除,因为过程不可逆。
npm run eject
package.json配置
如果创建的项目里面没有package.json文件,可以使用npm init命令生成该文件。
npm initpackage.json中各字段属性代表含义如下:
| 3D 变换属性 | 作用 | 是否必须 |
|---|---|---|
name | 项目名 | 必填 |
version | 版本(遵守“大版本.次要版本.小版本”的格式)。 | 必填 |
private | 是否私有库 | 选填 |
scripts | 指定了运行脚本命令的npm命令行缩写 | 选填 |
dependencies | 指定了项目运行所依赖的模块 | 选填 |
devDependencies | 指定项目开发所需要的模块 | 选填 |
peerDependencies | 用来供插件指定其所需要的主工具的版本 | 选填 |
bin | 指定各个内部命令对应的可执行文件的位置 | 选填 |
config | 用于添加命令行的环境变量 | 选填 |
browser | 指定该模板供浏览器使用的版本 | 选填 |
engines | 指明了该模块运行的平台,或npm版本 | 选填 |
man | 用来指定当前模块的man文档的位置 | 选填 |
preferGlobal | 表示当用户不将该模块安装为全局模块时(即不用–global参数) | 选填 |
style | 指定供浏览器使用时,样式文件所在的位置 | 选填 |
下面是新建项目中对应的package.json文件内容。
{
  "name": "mm_h5test",
  "version": "0.1.0",
  "private": true,
  "dependencies": {
    "@testing-library/jest-dom": "^5.11.4",
    "@testing-library/react": "^11.1.0",
    "@testing-library/user-event": "^12.1.10",
    "react": "^17.0.2",
    "react-dom": "^17.0.2",
    "react-scripts": "4.0.3",
    "web-vitals": "^1.0.1"
  },
  "scripts": {
    "start": "react-scripts start",
    "build": "react-scripts build",
    "test": "react-scripts test",
    "eject": "react-scripts eject"
  },
  "eslintConfig": {
    "extends": [
      "react-app",
      "react-app/jest"
    ]
  },
  "browserslist": {
    "production": [
      ">0.2%",
      "not dead",
      "not op_mini all"
    ],
    "development": [
      "last 1 chrome version",
      "last 1 firefox version",
      "last 1 safari version"
    ]
  }
}有了package.json文件,直接使用npm install命令,就会在当前目录中安装所需要的模块。
$ npm install如果一个模块不在package.json文件之中,可以单独安装这个模块,并使用相应的参数,将其写入package.json文件之中。
$ npm install express --save
$ npm install express --save-dev上面代码表示单独安装express模块,--save参数表示将该模块写入dependencies属性,--save-dev表示将该模块写入devDependencies属性。
package.json 部分字段解析
peerDependencies
有时,你的项目和所依赖的模块,都会同时依赖另一个模块,但是所依赖的版本不一样。比如,你的项目依赖A模块和B模块的1.0版,而A模块本身又依赖B模块的2.0版。
大多数情况下,这不构成问题,B模块的两个版本可以并存,同时运行。但是,有一种情况,会出现问题,就是这种依赖关系将暴露给用户。
最典型的场景就是插件,比如A模块是B模块的插件。用户安装的B模块是1.0版本,但是A插件只能和2.0版本的B模块一起使用。这时,用户要是将1.0版本的B的实例传给A,就会出现问题。因此,需要一种机制,在模板安装的时候提醒用户,如果A和B一起安装,那么B必须是2.0模块。
peerDependencies字段,就是用来供插件指定其所需要的主工具的版本。
{
  "name": "chai-as-promised",
  "peerDependencies": {
    "chai": "1.x"
  }
}上面代码指定,安装chai-as-promised模块时,主程序chai必须一起安装,而且chai的版本必须是1.x。如果你的项目指定的依赖是chai的2.0版本,就会报错。
注意,从npm 3.0版开始,peerDependencies不再会默认安装了。
bin字段
bin项用来指定各个内部命令对应的可执行文件的位置。
"bin": {
  "someTool": "./bin/someTool.js"
}上面代码指定,someTool 命令对应的可执行文件为 bin 子目录下的 someTool.js。npm会寻找这个文件,在node_modules/.bin/目录下建立符号链接。在上面的例子中,someTool.js会建立符号链接node_modules/.bin/someTool。由于node_modules/.bin/目录会在运行时加入系统的PATH变量,因此在运行npm时,就可以不带路径,直接通过命令来调用这些脚本。
因此,像下面这样的写法可以采用简写。
scripts: {
  start: './node_modules/bin/someTool.js build'
}
// 简写为
scripts: {
  start: 'someTool build'
}
main字段
main字段指定了加载的入口文件,require('moduleName')就会加载这个文件。这个字段的默认值是模块根目录下面的index.js。
config 字段
config字段用于添加命令行的环境变量。
下面是一个package.json文件。
{
  "name" : "foo",
  "config" : { "port" : "8080" },
  "scripts" : { "start" : "node server.js" }
}
然后,在server.js脚本就可以引用config字段的值。
http
  .createServer(...)
  .listen(process.env.npm_package_config_port)
用户执行npm run start命令时,这个脚本就可以得到值。
$ npm run start用户可以改变这个值。
$ npm config set foo:port 80browser字段
browser指定该模板供浏览器使用的版本。Browserify这样的浏览器打包工具,通过它就知道该打包那个文件。
"browser": {
  "tipso": "./node_modules/tipso/src/tipso.js"
},
engines 字段
engines字段指明了该模块运行的平台,比如 Node 的某个版本或者浏览器。
{ "engines" : { "node" : ">=0.10.3 <0.12" } }该字段也可以指定适用的npm版本。
{ "engines" : { "npm" : "~1.0.20" } }本文参考:
https://blog.csdn.net/u012118993/article/details/87288516

暂无评论