
1 准备
- VSCode 安装
Code Runner插件; - 安装
express插件
npm install express不安装会报错:Error: Cannot find module 'express'
2 写服务端
新建server.js,编写如下代码:
let express = require("express")
//先要安装express
//1、初始化express(服务端插件)
let app = express()

//2、发送get请求
app.get("/api/user", (req, res) => {
    res.json({ name: "毛毛" })
})
//3、监听3000端口
app.listen(3000)编写完之后,右键执行run code

执行成功,命令行会显示:

验证:
浏览器输入:
http://localhost:3000/api/user得到运行结果:

3 写客户端
编写对应客户端请求代码:
let xhr = new XMLHttpRequest()
//get方法,路径,异步
xhr.open('GET','/api/user',true)

xhr.onload = function(){
    console.log(xhr.response)
}
xhr.send()
运行:
http://localhost:8080/api/user本例中,客户端的端口号是8080
运行结果发现报错,并没有请求到服务器的数据。

Failed to load resource: the server responded with a status of 404 (Not Found)为了解决跨域问题,需要对客户端添加代理,或者其他方式进行解决。
下面介绍几种解决跨域问题的方案。
4 添加代理
方式一:webpack代理
解决上述问题,需要在webpack中配置服务端代理。
添加代理路径,转发请求到3000端口。
proxy: {
      "/api": "http://localhost:3000"
    }
完整示例:
module.exports = {
  devServer: {//开发服务器配置
    port: 8080,//客户端的端口号
    progress: true,//进度条
    contentBase: "./dist",//返回的资源目录
    compress: true,//是否压缩
    proxy: {
      "/api": "http://localhost:3000"//转发请求到3000端口号
    }
  },
}
重新运行客户端:
npm run dev浏览器输入客户端的请求地址
http://localhost:8080/api/user运行成功:

原本需要输入:
http://localhost:3000/api/user才能访问到的数据,现在客户端通过8080端口也能访问到数据,说明跨域成功。
方式二:重写api路径
基于方式一的webpack代理做修改。
    proxy: {
      "/api": {
        target: "http://localhost:3000",
        pathRewrite: { "/api": "" }
      }
},该方法的目的是将所有带/api的请求路径,把/api从请求地址上去掉。
这样做的好处是,无需将每个服务端接口都写一遍代理,而是直接转发定位到二级接口地址。
比如,假设服务端代码如下:
let express = require('express')
//先要安装express
//1、初始化express(服务端插件)
let app = express()

//2、发送get请求
app.get('/user', (req, res) => {
    res.json({name:'毛毛'})
})
//3、监听3000端口
app.listen(3000)服务端只提供了/user接口。
而,如果客户端想通过访问/api/user接口来访问到服务端对应的/user接口代码,就可以用这种代理方式。
客户端代码:
let xhr = new XMLHttpRequest()
//get方法,路径,异步
xhr.open('GET','/api/user',true)

xhr.onload = function(){
    console.log(xhr.response)
}
xhr.send()
运行:
重新运行服务端:
1) 先在命令行终止当前的run code
2) 再次运行run code

重新运行客户端:
npm run dev浏览器输入客户端的请求地址
http://localhost:8080/api/user运行成功:
方式三:客户端本地mock数据
在devServer下添加before代理:
    before(app) {
      app.get('/api/user', (req, res) => {
        res.json({ name: '毛毛' })
      })
    },
完整配置:
module.exports = {
  devServer: {//开发服务器配置
    port: 8080,//客户端的端口号
    progress: true,//进度条
    contentBase: "./dist",//返回的资源目录
    compress: true,//是否压缩
    before(app) {
      app.get('/api/user', (req, res) => {
        res.json({ name: '毛毛呀' })
      })
    },
  },
}此时,客户端的/api/user请求并不会发送到服务器,而是直接被本地mock代理拦截,并返回对应的模拟数据。
重新运行客户端:
npm run dev浏览器输入客户端的请求地址
http://localhost:8080/api/user发现返回的是before(app)中代理的内容。

方式四:服务端与客户端运行在同一环境
啥意思呢?
如果你有服务端,又不想用代理,就可以在服务端启动webpack,后端与前端代码一起打包,最后通过访问服务端端口可以请求到数据。
就是把webpack环境在服务端运行。
1) 需要安装中间件插件:webpack-dev-middleware
2) 需要改造服务端代码:
let express = require('express')
//先要安装express
//1、初始化express(服务端插件)
let app = express()

let webpack = require('webpack')
//中间件

let middle = require('webpack-dev-middleware')

let config = require('../webpack.config.js')

let compiler = webpack(config)

app.use(middle(compiler))

//2、发送get请求
app.get('/api/user', (req, res) => {
    res.json({name:'毛毛'})
})
//3、监听3000端口
app.listen(3000)
运行:
重新运行服务端:
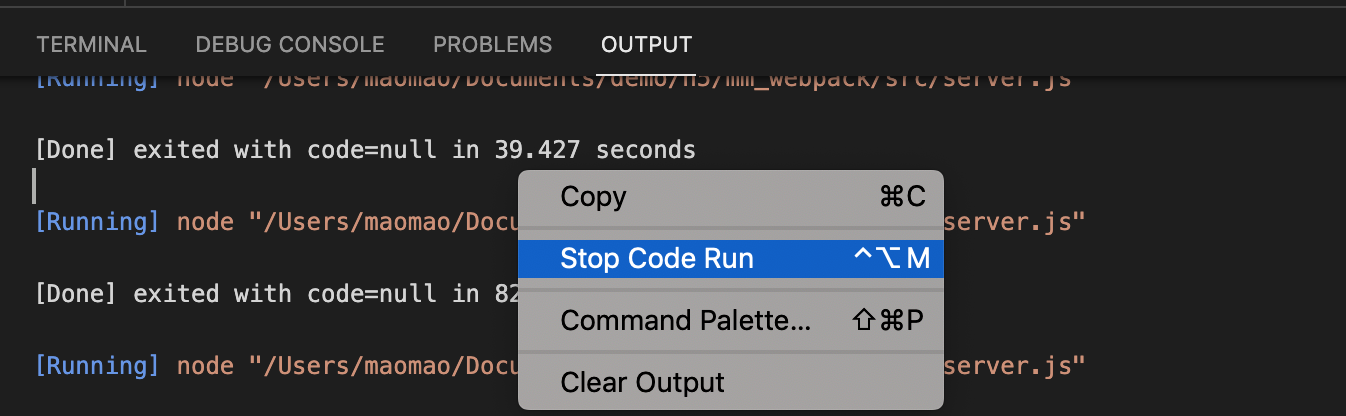
1) 先在命令行终止当前的run code
2) 用node运行服务端代码
node src/server.js重新运行客户端:
npm run dev浏览器输入客户端的请求地址
http://localhost:3000/api/user或:
http://localhost:3000运行成功:
本节完。
可能还有更多跨域解决方案,欢迎留言交流!

暂无评论